This topic offers a brief guide to obtaining a clear intercostal view using lung ultrasound, and explains what is seen when the right view is obtained. Anatomical and sonographic representation of the chest wall, and the ‘bat sign’ will also be explained.
Procedure for obtaining the intercostal view
- Positioning the transducer: Position the transducer in the acoustic window, between two ribs, with the orientation marker pointing towards the head.
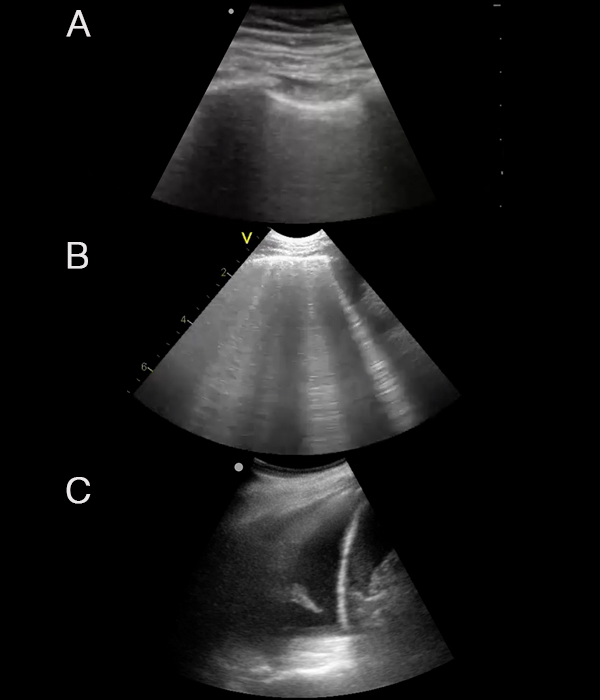
- Centering the pleura: Ensure the pleura is centered in your image, nestled between two ribs, forming the characteristic “bat sign.” This region is key for observing the ultrasonographic lung signs: pleural sliding, lung pulse, appearance of B-lines and the ‘sea-shore’ and ‘stratosphere’ sign. The video shows how to obtain this in the anterior intercostal space:
Identifying structures:
- Costae: Recognizable by their bright, hyperechoic (white) surface and the contrasting anechoic (black) shadow underneath.
- Pleura: Appears as a distinct, hyperechoic (white) line between the ribs.
- Evaluate pleura: Is the sliding, lung-pulse, comet-tails/B-lines and ‘seashore’-/’stratosphere-‘ sign present or absent – explained in detail later.

A crucial reminder: While it might seem counterintuitive, structures visualized below the pleural line are not representative of lung tissue. Why? The air-filled lungs scatter ultrasound waves, producing no echoes. Instead, what you’re seeing are image artifacts – reflections originating from the skin, muscles, ribs, and the pleural line itself.
Optimizing the intercostal view: Tips and tricks
- Identifying the pleural line: If it’s proving challenging to differentiate the pleural line from surrounding structures:
- Zero in on the space between two ribs; the bright line you see between and just below the ribs is the pleura, creating the famed “bat-sign.”
- Tweak the ultrasound’s depth setting to centralize the pleura on your screen.
- Experiment with tilting the probe until you achieve a 90-degree angle between the ultrasound beam and the pleural line.
- Ask the patient to alternate between regular breathing and holding their breath. This lets you watch for the lung pulse and makes it easier to spot the difference between lung sliding (during breathing) and its absence (when the breath is held).
- For further clarity, move the transducer left/right or anterior/lateral to compare different chest regions.
- Navigating around the heart: Especially on the left anterior hemithorax, you might find the heart obstructing your view. In such cases, shift the transducer either up towards the head or more laterally to bypass the heart and gain a clearer view.
Anatomical and sonographic representation of the chest wall
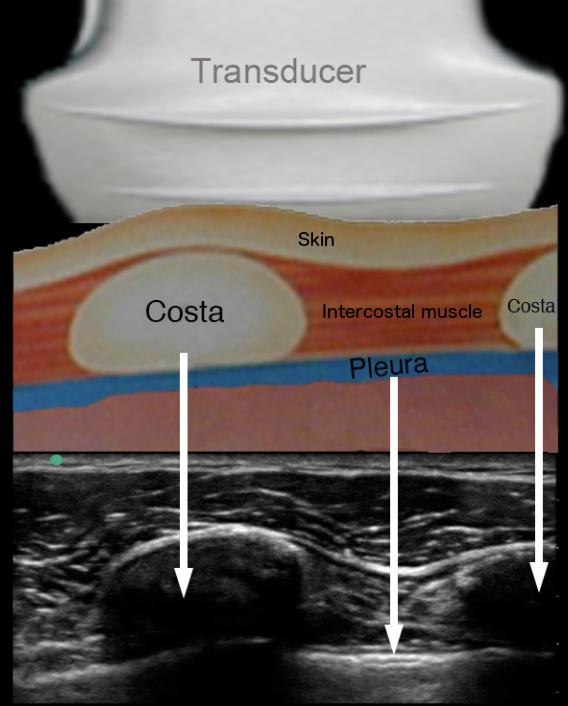
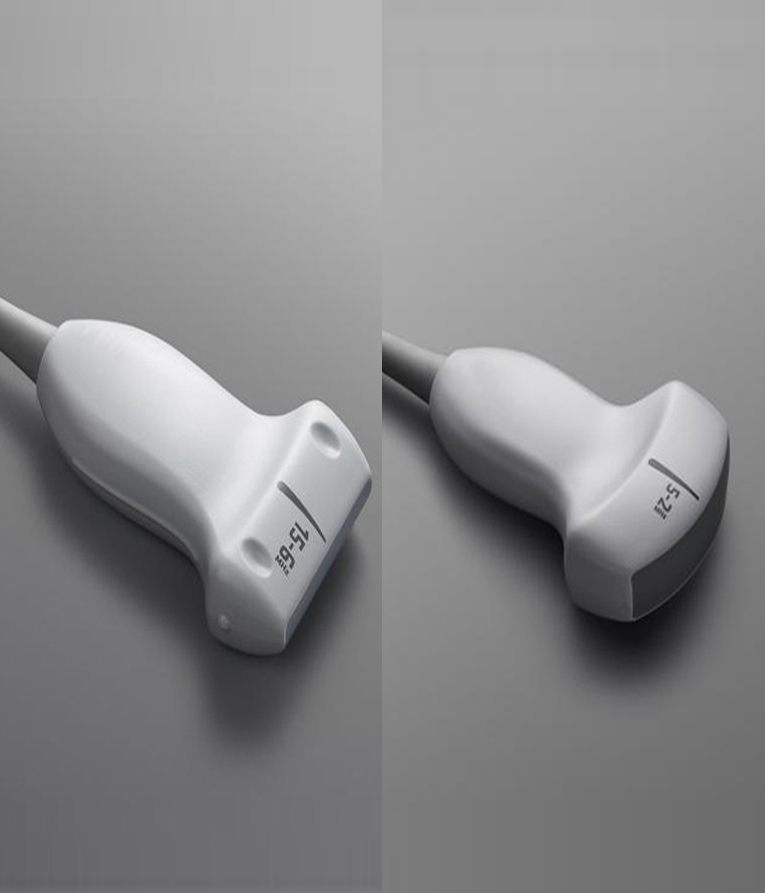
The linear ultrasound probe is placed on the skin surface over the subcutaneous fat layer, costae and intercostal muscles.
The lower part of the picture shows the ultrasound image of the tissue components of the chest wall.
The ”bat sign”

The term ”bat sign” was described by Dr. Daniel Lichtenstein, inspired by a bat’s remarkable ability to navigate using ultrasound with precision.
This sign is pivotal in lung ultrasound. Its identification confirms that the ultrasound image has accurately captured the intercostal space between two ribs. The hyperechoic (white) linear structure nestled between these ribs represents the pleura.
For optimal visualization, the depth of the ultrasound image can be adjusted in order to align the pleura to the centre of the ultrasound screen.
Before proceeding with a thorough evaluation of the pleura, it’s imperative to establish the presence of the “bat sign.”