Lesson-LungUS

PTX – Summary


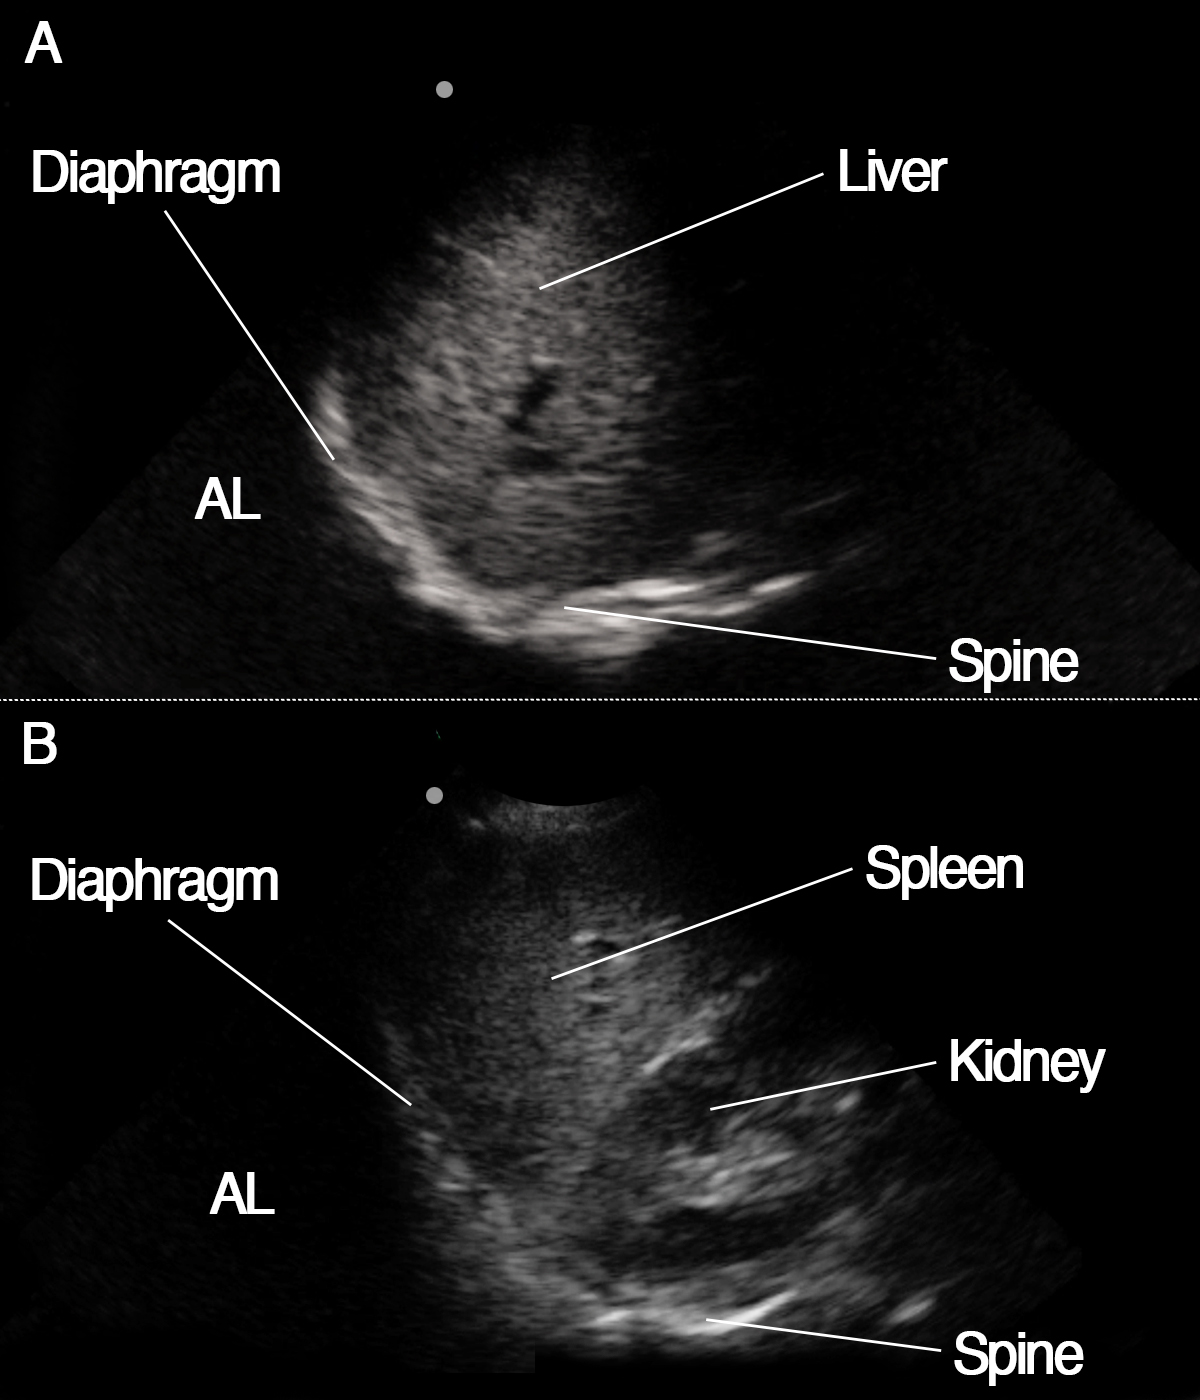
A pneumothorax is ruled out
• When lung sliding/pulse or B-lines can be seen on the anterior part of the thorax (in a patient lying on the back)

A pneumothorax is suspected
• When neither lung sliding/pulse nor B-lines can be seen on the anterior part of the thorax

A reliable diagnosis of pneumothorax can be established
• When neither lung sliding/pulse nor B-lines can be seen on the anterior part of the thorax AND
• A lung point is detected

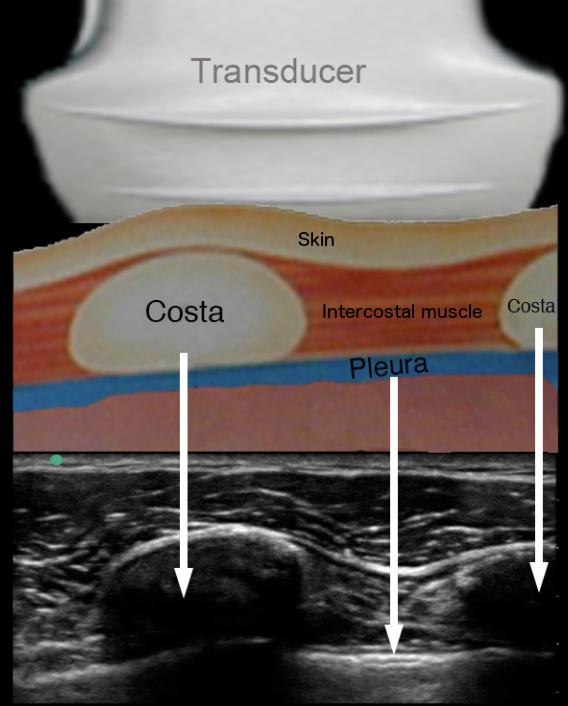
Ok, so lung sliding, some weird lines and a lung point – how do I do this in real life?
– Look at the video on the next page

Image missing
A: Normal lung sliding – PTX can be ruled out
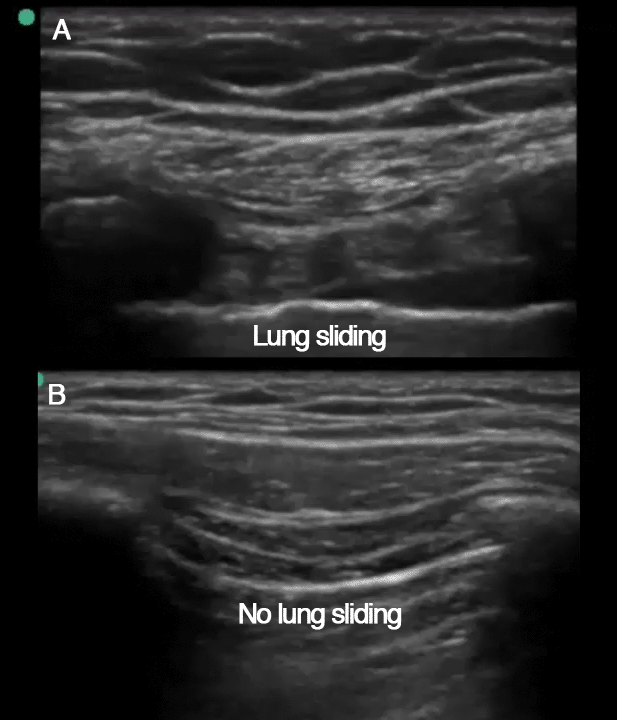
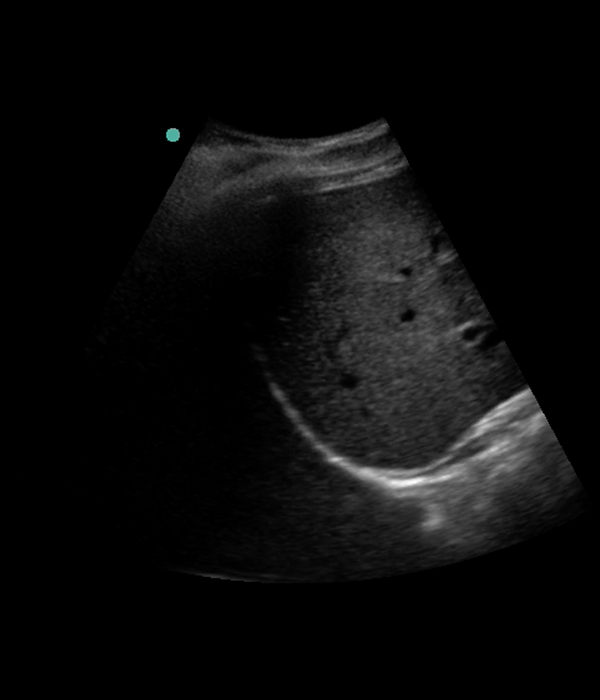
B: No lung sliding – PTX is possible

Posterolateral pleural view – identifying structures


In the posterolateral pleural view, the following structures can be seen:

Right side
Liver
Kidney (not seen in the image to the right)
Diaphragm
Spine

Left side
Spleen
Kidney
Diaphragm
Spine

Image missing
A: Posterolateral pleural view on the right side
B: Posterolateral pleural view on the left sideAL represents the area of the lung that is not visible because it is aerated.

Posterolateral pleural view – tips and tricks


Rotation
Generally, a slight rotation of the transducer, so the OM aims more towards the mattress, can improve image quality (counter-clockwise on right side, clockwise on left side).

Fluid follows gravity
Always make sure that the transducer is placed as posterior as possible – your hand needs to touch the mattress.

That hard left side
On the left side it is generally more difficult to obtain good images than on the right side – but the tips for optimising the image are the same:
• Rotate the probe (clockwise) – maybe even more than on the right side
• Make sure the transducer is placed as posteriorly as possible.

Image missing
Right posterolateral pleural view

The focused questions


At this point, you should feel confident about how to obtain the lung images.

If you do not feel confident, please review the slides.
If you do feel confident – now move on to answering the focused questions.

The focused questions in focused ultrasonography of the lungs are:
• Can pneumothorax be confirmed or excluded?
• Are signs of pulmonary edema present or can pulmonary edema be excluded?
• Can pleural fluid be confirmed or excluded?

Tips:
• The first two questions can be answered from the intercostal view
• The last question can be answered from the posterolateral pleural view

Image missing
A: Anterior intercostal view. If no lung sliding is present it is suggestive of PTX
B: Anterior intercostal view with b-lines, which is suggestive of pulmonary edema
C: Posterolateral pleural view with pleural fluid collection

Intercostal view – identifying structures


Costae
The costae are identified by the hypereechoic(white) surface and the anechoic (black) shadow below the costa.

Pleura
Pleura is seen as a hyperechogenic (white) structure between the costae.

Things are not always as they seem
OBSERVE: Image structures below the pleura line do not represent lung tissue – the air in the lungs absorbs the ultrasound waves and returns no echoes.

Structures seen in the image below the pleura line is not lung tissue but represent image artefacts from the echoes from the skin, muscle, costae and pleural line.

Image missing
The image shows the presentation of the chest wall on the ultrasound screen.
The linear ultrasound probe is placed on the skin surface over the sucutaneous fat layer, costae and intercostal muscles.
The lower part of the picture shows the ultrasound image of the tissue components of the chest wall.

Intercostal view – tips and tricks


Image missing
Image shows classical intercostal view of pleura from the upper anterior part of the chest

Pleural line
If the pleural line and the lung signs cannot be clearly separated from the surrounding structures:
• make sure you are watching the pleural line – look into the space between two ribs, and the hyperechogenic (white) linear structure between and below the ribs is pleura – the ”BAT-sign”
• Adjust the depth of the ultrasound image in order to align the pleura to the center of the ultrasound screen
• try tilting the probe to obtain a 90 degree angle between the ultrasound beam and the pleural line
• ask the patient to switch between breathing and holding the breath. Watch for the lung pulse and observe how lung sliding becomes more clear (breathing) when it is compared to no-sliding (breathhold)
• move left /right and compare left and right side of the chest
• move  anterior/lateral and compare anterior with lateral part of the chest

The heart
When attempting to obtain the intercostal view on the left anterior hemithorax, be aware that the heart may be in the way – in this case, move the transducer apically or laterally.

XX 1 – Learning objectives

Learning objectives for focused ultrasonography of the lungs

Obtain
– Anterior intercostal view (‘bat-sign’)
– Posterolateral pleural view

Answer the focused questions
– Can pneumothorax be confirmed or excluded?
– Are signs of pulmonary edema present or can pulmonary edema be excluded?
– Can pleural fluid be confirmed or excluded?

Image missing
A: Anterior intercostal view
B: Anterior intercostal view with B-lines
C: Posterolateral pleural view with pleural fluid collection

The transducers for focused lung ultrasonography


A high frequency linear transducer or a curved (abdominal) transducer can be used for focused lung ultrasonography.

A linear high-frequency transducer is recommended if the purpose is only to visualise the pleural line (described later). The linear transducer has an optimal balance between resolution and depth for visualising superficial structures. It cannot be used for evaluating pleural fluid.

A lower-frequency transducer (abdominal or cardiac) permits the deep penetration that is needed for evaluation of pleural fluid (described later). The curved abdominal transducer also generates usable images for visualising the pleural line.

Tips
The ‘abdominal’ transducer can be used as an all-round transducer for focused lung ultrasonography.
Some cardiac transducers also allow fair imaging – but test your own equipment.

Image missing
Left: Linear high frequency transducer, optimal for visualising the pleural line.
Right: Curved ‘abdominal’ transducer, optimal for evaluating pleural fluid but also works very well for visualising the pleural line.