? It is quick and easy
? More vessels become available for cannulation
? Any trained healthcare professional can perform this
? Fewer complications and less patient discomfort
? It can be applied in all clinical settings
? It is quick and easy
? More vessels become available for cannulation
? Any trained healthcare professional can perform this
? Fewer complications and less patient discomfort
? It can be applied in all clinical settings
Ultrasound guided arterial cannulation involves:
– Disinfection of the skin
– Application of sterile ultrasound gel
– Cannulation of the radial arterial
– Obtaining blood sample for arterial blood analysis
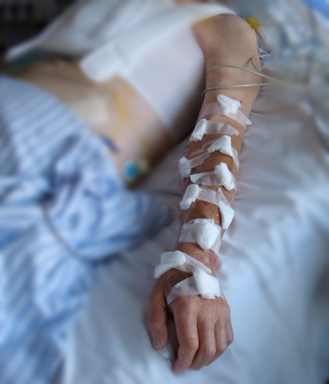
Correct intravascular placement of the catheter is crucial
Venous catheters:
– Strong outlet of pulsating blood suggests arterial placement of the catheter. No injection or infusion may be started before further evaluation of catheter placement
– Injection of 2-10 mL of saline into the catheter without extravascular leakage suggests correct placement
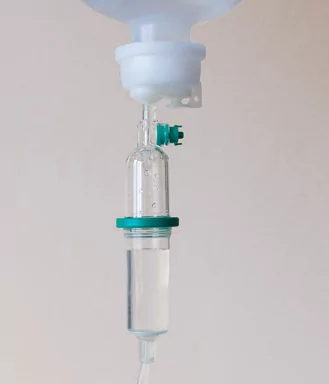
– If in doubt of extravascular or intraarterial placement set up 100 mL saline infusion. Free infusion by gravity alone almost rules out intraarterial placement
Arterial catheters:
– Confirm the placement by either arterial blood analysis, or by coupling to pressure monitor
These suggestions are examples on how correct intravascular placement can be verified. Always stick to your own hospital’s procedures.
Ultrasound guided placement of a intravenous catheter involves:
– Disinfection of the skin
– Application of sterile ultrasound gel
– Cannulation and insertion of the intravenous catheter
– Removal of ultrasound gel
– Checking of the catheter is intra arterial
– Fixation of the catheter
Placing a catheter in a blood vessel or taking a blood sample is a sterile procedure. The use of ultrasound must not compromise sterility, and a technique ensuring sterility of the puncture site, the needle and the wound dressing should be used. This includes:
Always use your hospital’s procedures. This is just an example of how it can be performed.
Be systematic!
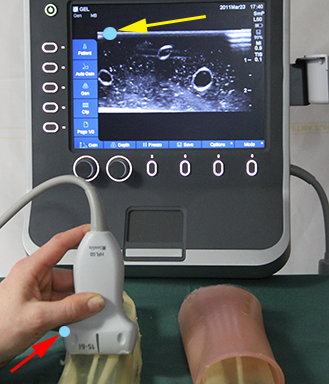
? Ensure power and correct placement of the ultrasound machine and the patient
? Use a linear high frequency transducer with correct presets and orientation (finger test)
? Adjust the depth and gain settings
? Optimise the vessel for cannulation (torniquet, low-hanging arm etc.) and identify a suitable vessel
? Disinfect the puncture area and perform the DNTP procedure
? Insert as much of the needle shaft as possible
? Remove all gel from the puncture site
? Fix the catheter to the skin
? Ensure the catheter placement inside the vessel
Click on the READ MORE button to see an extended checklist
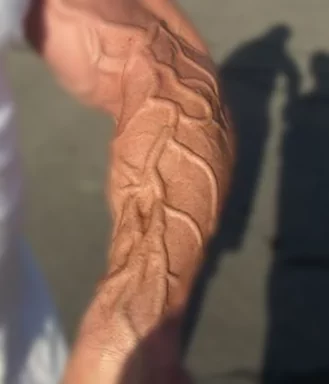
It is recommended that you optimise the veins for cannulation – exactly like one would do without the use of ultrasound
Optimisation includes all that will enhance venous stasis, and maximise blood filling and diameter of the veins:
– venous stasis by torniquet, preventing blood flow towards the heart
– low-hanging arm
– heating of the arm/puncture site
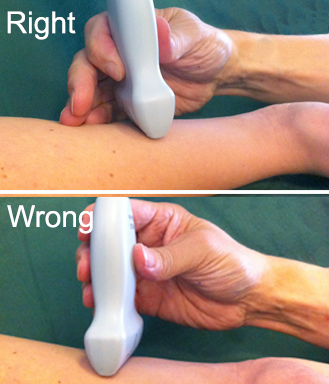
The transducer pressure on the skin can squeeze the blood vessel, make a vein collapse and enhance the pulsation of an artery
A light touch of the transducer on the skin is best obtained by placing your hand on the arm of the patient and using the fine motor skills in your fingers/hand to hold and move the transducer
The learning objective of exercise 6 is the same as in a exercise, but using the combined up/down and sideways tracking of the needle tip. This exercise should be trained to both the left (shown in the video) and the right (not shown in the video)
Track the whole needle into the vessel and not just needle tip
Train exercises 5 and 6 repeatedly until you get full control of the “coming and going” of the needle tip and until you are able to place the needle tip in any position in the phantom
Click on the VIDEO CLIP button to view the video
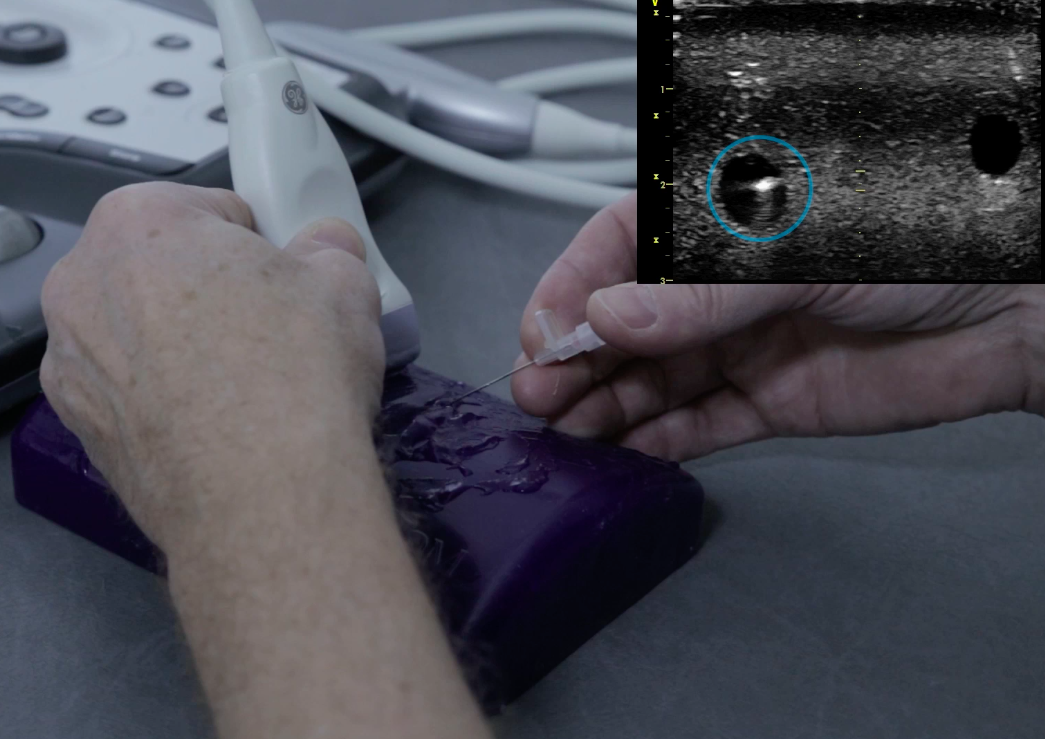
Observe the “coming and going” deeper and deeper and more and more left as the needle is moved further into the phantom and into the vessel. Guide the needle tip a few cm into the vessel to ensure the position of the needle inside the vessel
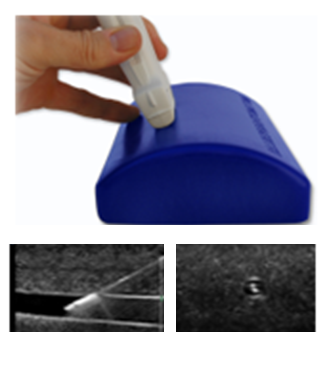
The Blue Phantom Vessel Ultrasound Training Block Model is constructed using a patented ultra-durable simulated tissue which matches the acoustic characteristic of human tissue
It contains 2-4 blood vessels positioned at different depths
Users can image the bifurcating vessels, track the course of the vessels, and guide needles into the targeted vessel using ultrasound imaging
Clinicians can gain experience acquiring and interpreting ultrasound images of blood vessels as well as developing the psychomotor skill associated with guiding needles towards simulated vessels
The material is “self healing” and can be used thousands of times without requiring replacement
No special storage is required
Price: 400-500 USD per phantom
More details on www.bluephantom.com