Emergency

Final remarks


The hands-on Basic POCUS course is based on the same principles as this e-learning and it covers:

• e-learning
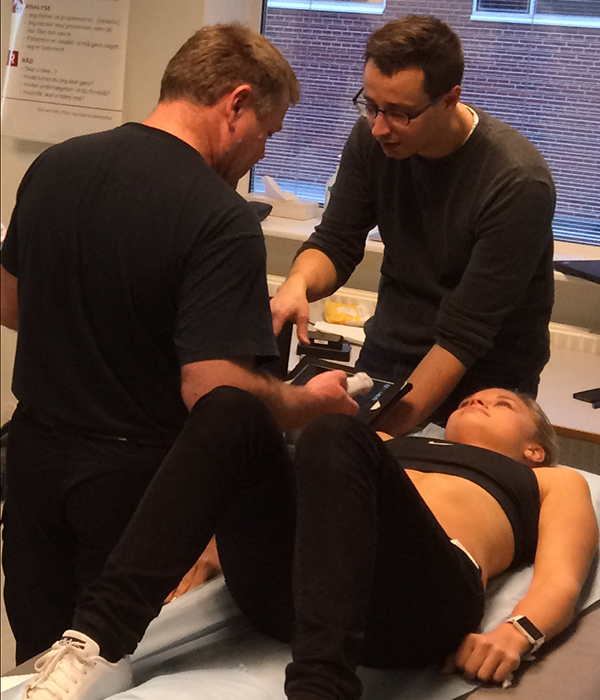
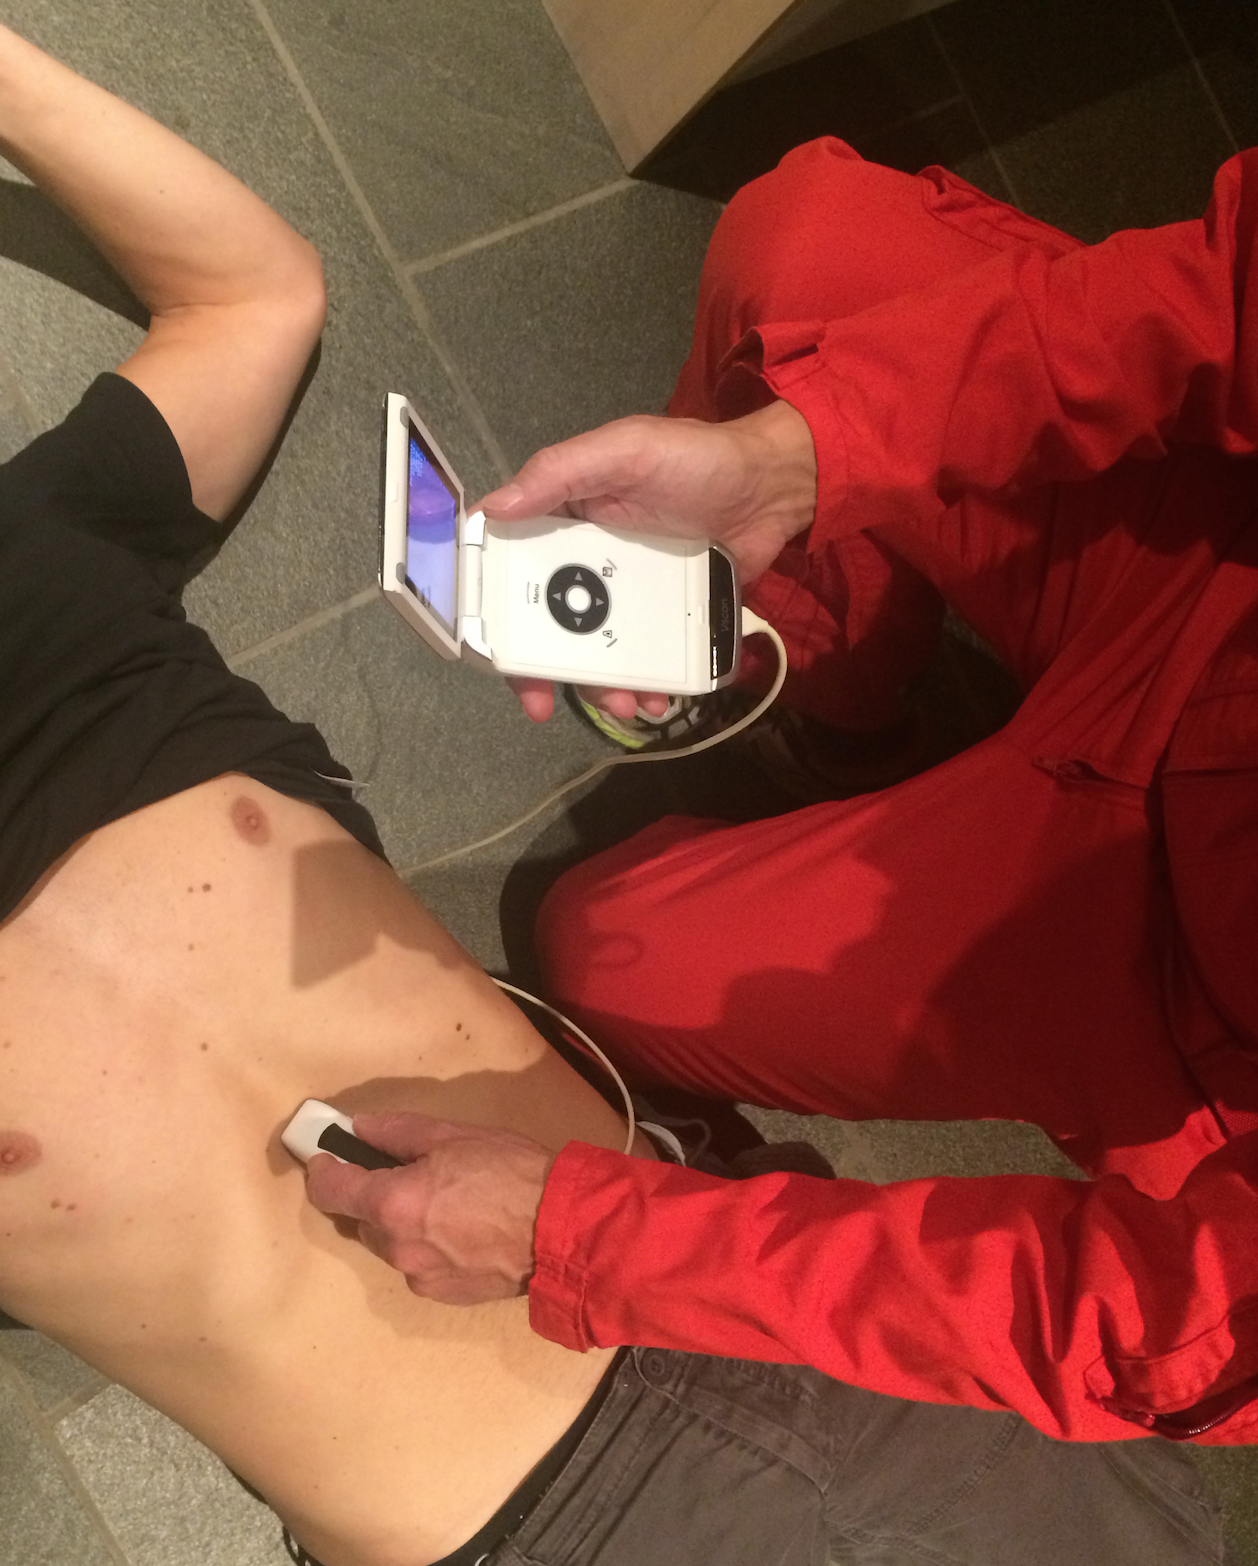
• hands-on training – making sure you can obtain the views
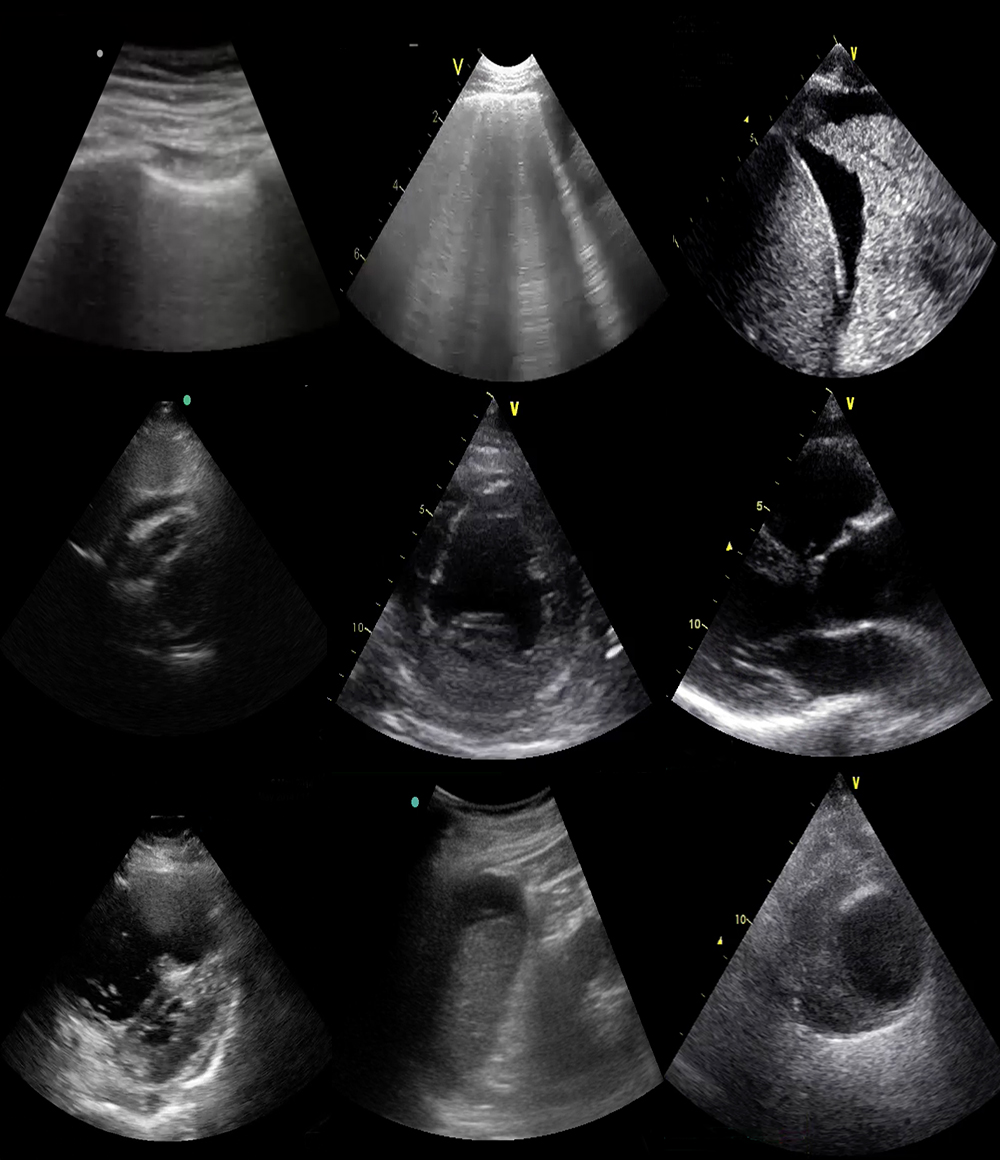
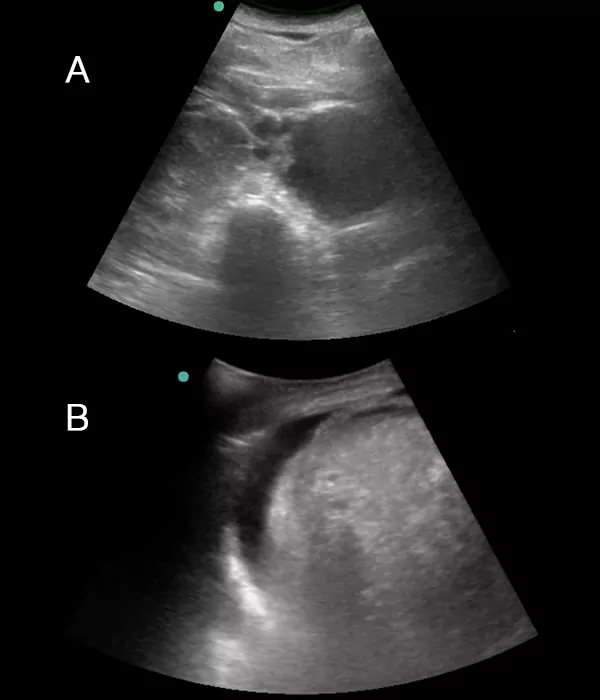
• case training – using real images from from real cases

or in other words:
• learning the theory
• practicing the skills
• simulating the real situation

We hope you have enjoyed this e-learning course and we wish you great luck with your forthcoming ultrasonography performance in your own department.

Image missing
Hands-on ultrasonography course.

Integrated ultrasonography


No protocol
You are not forced to stick to a specific protocol.

Ask a clinical question.

If it can be answered using ultrasonography – pick up the ultrasound transducer.

When the question is answered, put down the transducer and take care of the patient.

Integrated
This way, the focused ultrasonography examination can be integrated into your primary examination of the patient.

By integrating the results of your focused ultrasonography into the results when exploring the medical history and performing the physical history and other point-of-care diagnostics, you can improve patient management.

Image missing
Focused ultrasonography performed in a patient’s home

Answer clinical questions


This e-course has taken you through answering these clinical questions using focused ultrasonography.

Heart
• Is a pericardial fluid collection present?
• Is the left ventricular function reduced?
• Are signs of pulmonary embolism present?

Lung
• Can pneumothorax be confirmed or excluded?
• Are signs of pulmonary edema present or can pulmonary edema be excluded?
• Can pleural fluid be confirmed or excluded?

Abdomen
• Is free intraperitoneal fluid visible?

These focused questions are not static – questions can be added and removed according to evidence and to the development in ultrasonograhic equipment.

Image missing

Summary – focused ultrasonography of the abdomen Copy BUA


You have now learned how to answer the focused questions in focused ultrasonography of the abdomen relevant for perioperative medicine.

• Is the stomac full or empty?
• Is free intraperitoneal fluid visible?

If you do not feel confident, please review the topics again.

*Morten*: Billedet skal laves om til full stomac og fri væske

Image missing
Pathological images corresponding to the focused questions in focused ultrasonography of the abdomen. A: Abdominal aortic aneurism, B: Free intraperitoneal fluid in the perihepatic view

Looking for free fluid in the longitudinal pelvic view Copy BUA


Obtain the longitudinal pelvic view.

Look for free fluid around the intestines.

In men: Look for free fluid between the bladder and the rectum.

In women: Look for free fluid between the bladder and the uterus and between the uterus and the rectum.

Tilt the transducer to view the lateral side of the bladder on both sides and look for free fluid.

Looking for free fluid is a dynamic process – not a question of getting THE ONE right image – tilt the transducer and do the sweep.

Image missing
Image A: Normal pelvic view without intraperitoneal fluid
Image B: Pelvic view with intraperitoneal fluid
B: Bladder, F: Fluid, U: Uterus

Looking for free fluid in the transverse pelvic view Copy BUA


Obtain the transverse pelvic view.

Look for free fluid to the sides, below and posterior to the bladder.

Sweep the transducer from top to bottom to look for fluid at all levels.

Looking for free fluid is a dynamic process – not a question of getting THE ONE right image – move the transducer and do the sweep.

Image missing
Image A: Normal pelvic view without intraperitoneal fluid
Image B: Pelvic view with peritoneal fluid
B: Bladder, F: Fluid, U: Uterus

Video showing free fluid in the perisplenic view Copy BUA

The video shows a recording of a perisplenic examination from a trauma patient with a ruptured spleen and free fluid in the abdomen.

Free fluid is seen between the diaphragm and the spleen.

A normal perisplenic recording is shown for comparison.

The video on the left shows a recording in a trauma patient with free fluid in the perisplenic view, and the video on the right shows a similar recording in a normal patient without free fluid. Observe the discrete black area between the diaphragm and the spleen equivalent to free fluid.

Looking for free fluid in the perisplenic view Copy BUA


Obtain the perisplenic view.

Look for free fluid between the diaphragm and the spleen (subdiaphragmatic) – remember the sweep at this level.

Look for free fluid between the spleen and and the kidney (splenorenal recess) – remember the sweep at this level as well.

Intraperitoneal fluid appears as a black anechoic (black) stripe.

Looking for free fluid is a dynamic process – not a question of getting THE ONE right image – move the transducer and do the sweep.

Image missing
The bottom image shows a normal perisplenic image: The splenorenal recess is marked with a blue line, and the diaphragm is marked with a yellow line.
In the top image free fluid (marked with white arrows) is seen between the diaphragm and the spleen and around the spleen.

Video showing free fluid in the perihepatic view Copy BUA


The video shows a recording of a perihepatic examination from a trauma patient with free fluid in the abdomen.

Free fluid is seen in the hepatorenal recess (Morison’s pouch).

A normal perihepatic view recording is shown for comparison.

The video shows the recording in the trauma patient with free fluid in the perihepatic view, and the video on the right shows a similar recording in a normal patient without free fluid. Observe the black area in Morrison’s pouch and around the liver equivalent to free fluid.

Sweep of Morison BUA


To evaluate the entire area at the sub diaphragmatic level, Morison’s pouch and anterior liver tip, sweep the transducer from the anterior to posterior position.

Here exemplified at the Morison’s pouch level.

Image missing
Sweep around the right kidney